Software Setup (Docker)
This page details how to set up JetBot using the pre-built JetBot docker containers. This is the best option if you want to use JetBot with an existing Jetson Nano SD card image.
Note
Please note, the JetBot containers described in this page currently target a Jetson Nano SD card image flashed with JetPack 4.4. These containers will not work with other version of JetPack.
Step 1 - Setup Jetson Nano
If you haven't already, go through the initial setup of Jetson Nano.
You can use your existing Jetson Nano set up (microSD card), as long as you have enough storage space left.
Hint
For this, we'll assume you've set up your Jetson Nano using the online Getting Started guide.
Step 2 - Connect to Wi-Fi
If you haven't already, connect your Jetson Nano to your Wi-Fi network.
Follow this Wi-Fi setup guide.
Step 3 - Clone JetBot repo
Clone the official JetBot GitHub repo.
git clone http://github.com/NVIDIA-AI-IOT/jetbot.git
Step 4 - Configure System
First, call the scripts/configure_jetson.sh script to configure the power mode and other parameters.
cd jetbot
./scripts/configure_jetson.sh
Hint
configure_jetson.sh also disables the GUI for the interest of saving system memory (DRAM) consumption.
If you want to re-enable the GUI, you can execute the following command.
sudo systemctl set-default graphical.target
Optionally, you can execute this script (./scripts/re_enable_gui.sh).
Then, call the scripts/enable_swap.sh script to enable swap memory if not set.
Having extra 4GB swap memory is recommended even on Jetson Nano (4GB) Developer Kit.
./scripts/enable_swap.sh
Step 5 - Enable all containers
Call the following to enable the JetBot docker containers
cd docker
./enable.sh $HOME   # we'll use home directory as working directory, set this as you please.
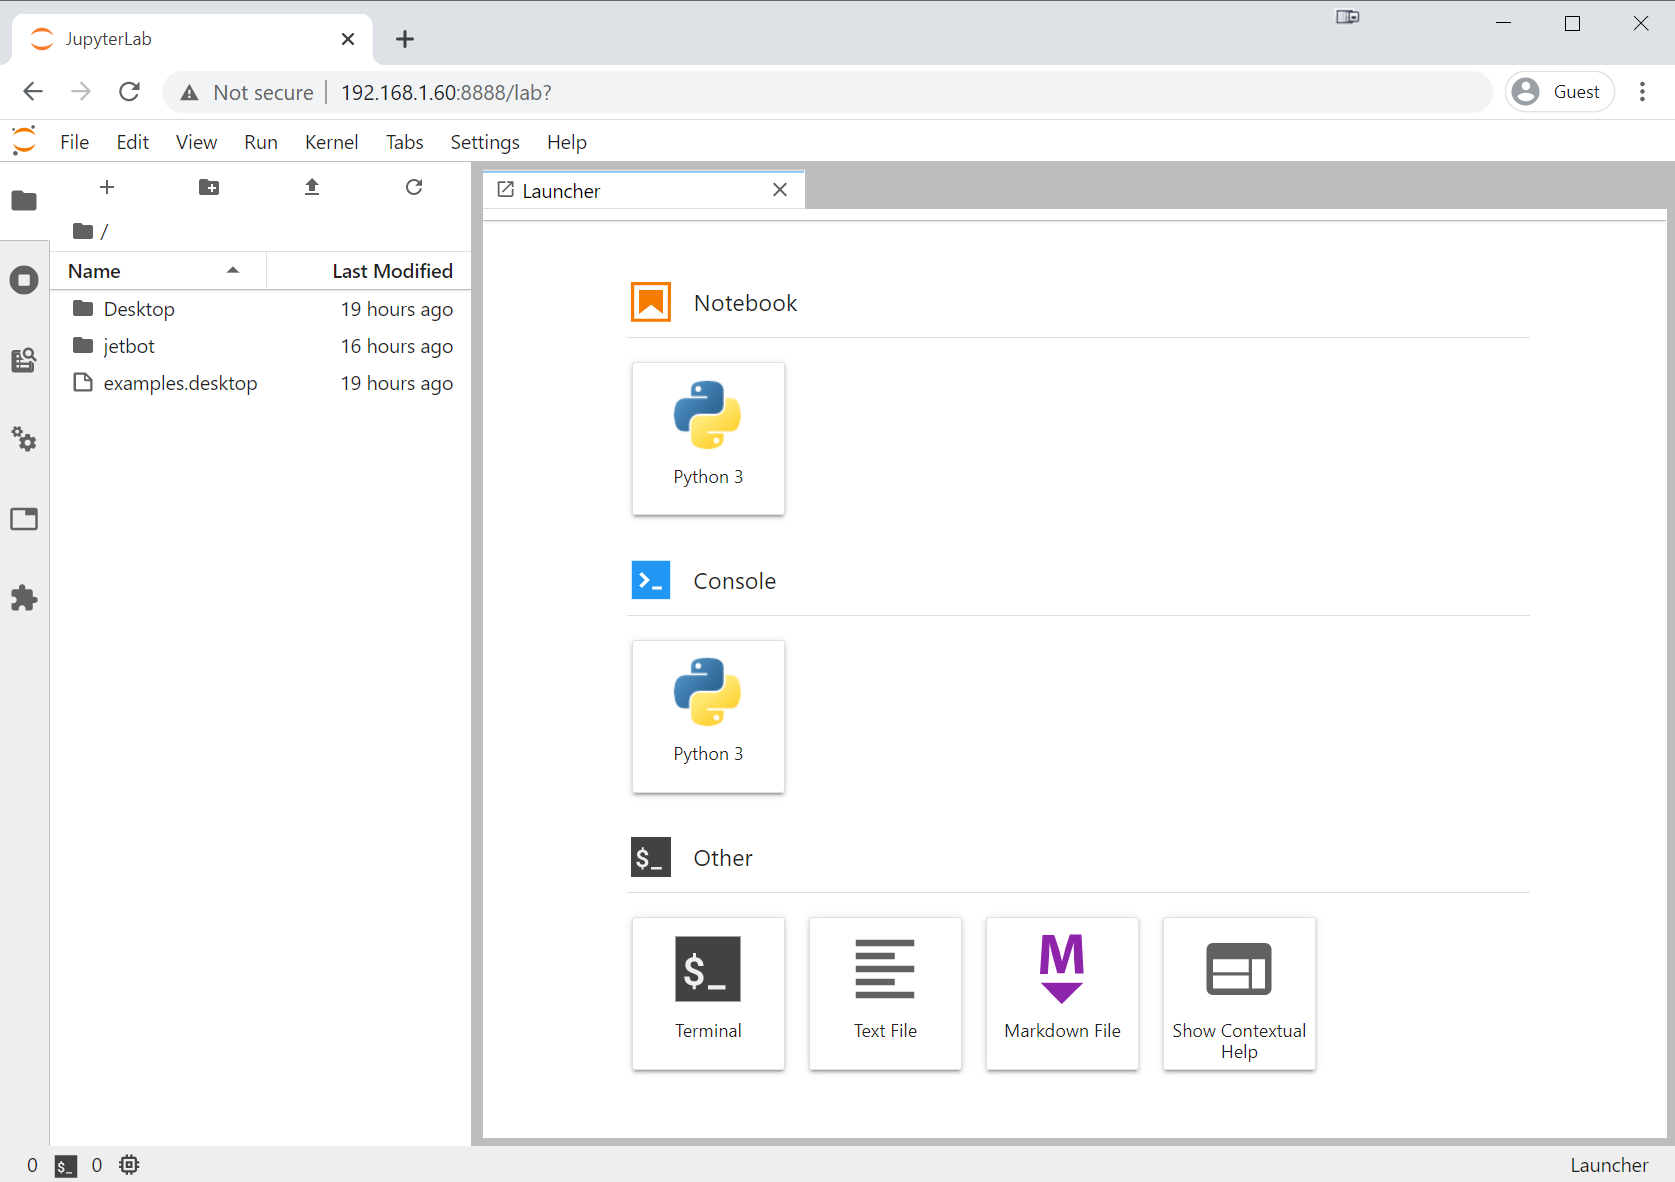
Now you can go to https://<jetbot_ip>:8888 from a web browser and start programming JetBot!
You can do this from any machine on your local network. The password to log in is jetbot.
The enable.sh script causes the docker containers to restart at boot. This means the next time you power on your JetBot, the containers will automatically start, and you should see the IP address displayed on the PiOLED display screen. All you need to do is type this into your web browser and start programming!
Tip
For more information on configuring and using docker with JetBot, check out the Docker Tips page.
Now that you've finished setting up you're JetBot, you're ready to run through the examples!